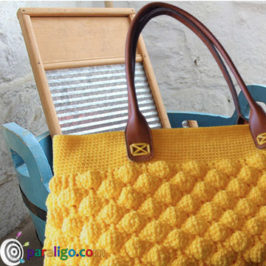
In my previous post, I presented a stitch that works amazing with plant fiber yarn, like raffia and twine, and is therefore great for summer bags. This was the Diagonal Herringbone stitch. The stitch I will talk to you about in this post is also an amazing stitch for summer projects and it’s no other than the legendary Broomstick, Stitch also known as the Broomstick lace stitch.
The word legendary is no exaggeration as this stitch used to be worked by pulling long unworked loops of thread up onto a broomstick, and this is where the name of this stitch derives. The loops were then joined together into clusters with the use of single crochet stitches and from these crochet stitches, new unworked loops were drawn up and slipped onto the broomstick in the next row. And so on.
Nowadays since brooms seized to be part of our households centuries ago the most common tool used to create this stitch would be chunky knitting needle-like the US sizes 35 and 50 (19 and 25mm accordingly). However, when I first watched this stitch in an Instagram video, the loops were being slipped on a large ruler. So this I how I tried it myself and I testify that the ruler has been working amazingly for me ever since and therefore I strongly suggest that you give it a try.
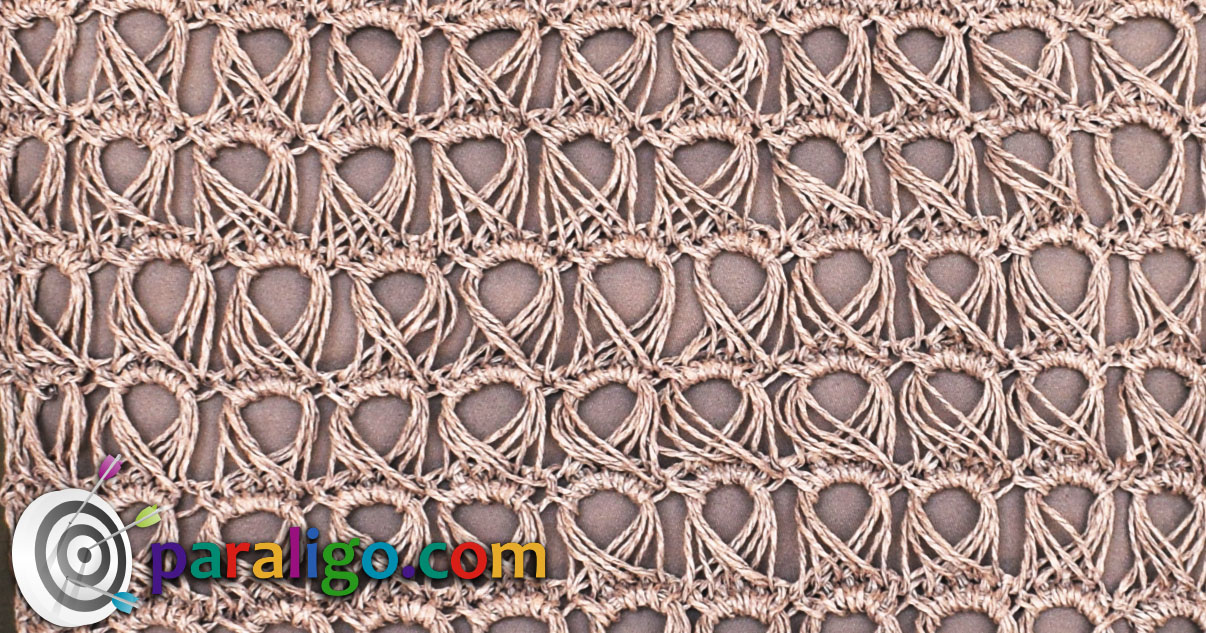
The broomstick stitch is basically worked in rows. There are tutorials that show you it can be worked in the round but I found this way very punishing. It is a two-row repeat pattern and it is based on single crochet. Despite its frightening appearance it’s a quite easy stitch to work and the only challenge it presents is to create loops of even size.
Abbreviations
Ch: Chain
SC: Single Crochet
Yo: Yarn over Hook
Foundation:
Chain a multiple of 5 plus one
Row 1:
Insert into the second chain from your hook and place a single crochet. Place a single crochet in each chain until the end of the row.
Pull up your working loop really long and slip it on your ruler. Insert into the next stitch pull up a long loop and slip it on your ruler. Repeat until the end of the row. Ch 1 and turn your work.
Row 2:
Insert hook under the first 5 loops and place 4 sc around them. Slide them off the ruler. *Insert your hook under the next 5 loops and place 5sc around them. Slide them off the ruler.* Repeat ** until the end of the row. Ch1 and turn your work.
Pull up loop from last sc and place it on needle. *Insert hook in the BLO of next st, pull up a loop and place it on needle. Rep from * for each rem st.
Row 3 and on:
Repeat rows 1 and 2 until your work reaches desired height.
Tips:
As this is a see-through stitch it is imperative that a bag that is worked with this stitch is lined with an interlining. And with that, I mean that there can be any seam showing under your stitches and therefore you should attach an external lining with the seams facing inside and an internal (the usual lining) with the seams facing outside.
Dos:
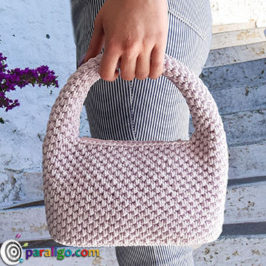
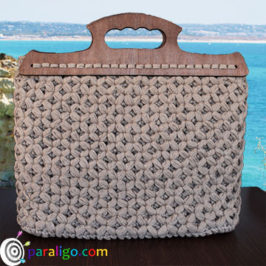
- As mentioned in the beginning this stitch looks amazing if worked with a thin and hard type of yarn like jute and raffia and it’s awesome for summer bags.
- There is also a type of cord under the brand name Ayaz Supra that consists of 20% Polyester – 80% Cotton. This yarn has a very interesting cable-like stiffness that is dreamy when worked with the broomstick stitch as it produces taut and uniform loops.
Don’ts:
- In theory, this stitch could be used with any kind of yarn. My advice is to not use it with a soft type of yarn like acrylic or cotton yarn.
- Though T-shirt yarn is not a forbidden option for this stitch I believe that Chunky yarns hide the beauty of this pattern that in my opinion should Ideally be worked we medium-thin yarn worked with hook number 3.5 to 4.