 Many times when starting to design a new bag I remember spending hours desperately searching on the internet for a playlist or a post listing stitches appropriate for crochet bags. To my great surprise and disappointment, my searches always proved to be in vain. So I decided that one day I would begin an endeavor of compiling an inventory of crochet stitches suitable for crochet bags, myself. And this day has arrived.
The first chapter of this inventory is dedicated to Dense stitches. This is because my experience with crochet bags taught me that in most cases, a rigid crochet fabric is a key to success. And to achieve rigidness without having to resort to reinforcement material you need two things. An appropriate yarn and a dense stitch.
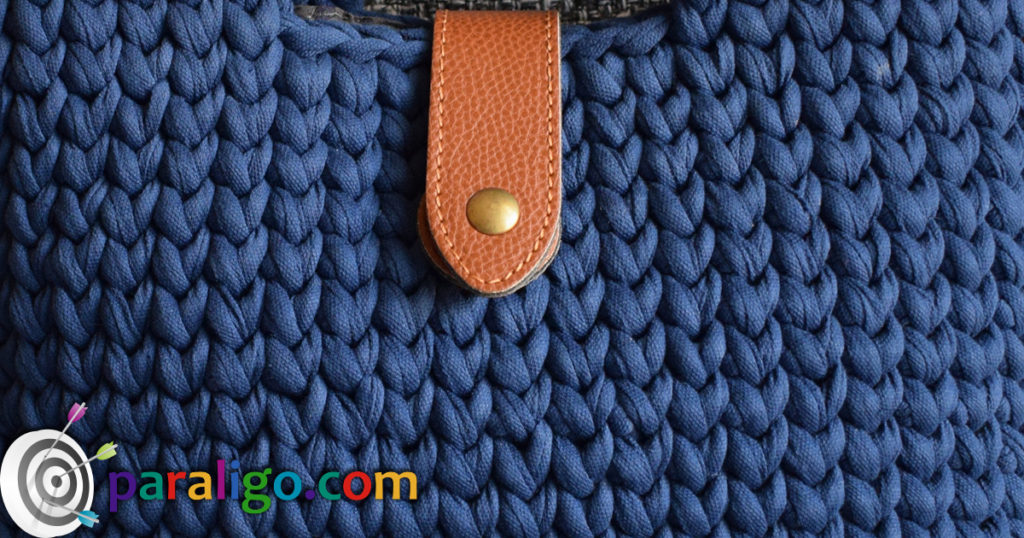
This first post that opens the chapter on dense stitches is about a very humble, very common but very loved crochet stitch. The waistcoat stitch, also known as knit stitch or center post stitch. It is easy, it is versatile, it is uniform, it doesn’t eat too much yarn and it’s dense. So dense that when combined with the right yarn it can create bags of an amazing shape that hold their form and their load.

To work a waistcoat stitch you always begin with a foundation round or row of regular single crochet. To create a regular single crochet you insert your hook under two loops that form something like the hook of a chain on top of each stitch from the previous row or round. To work a waistcoat stitch instead of going into the top of the stitch, you insert your hook in the middle of the post of every single crochet. Watch how you can work the waistcoat stitch in the round in the following video!
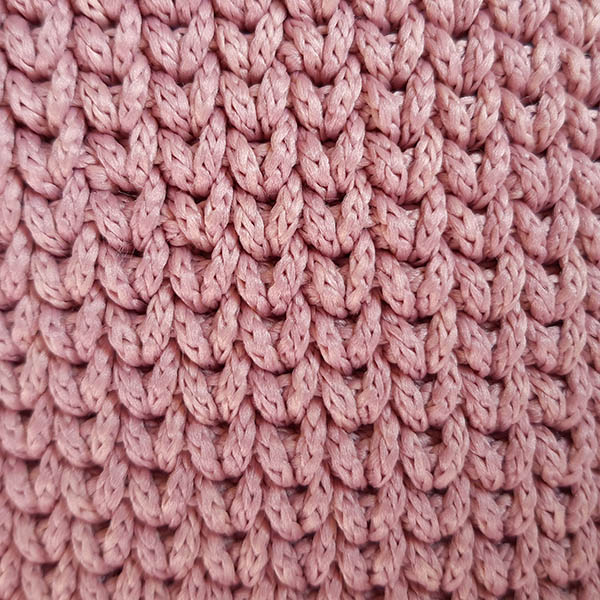
When working in the round and facing the front side of each stitch that post has the shape of a letter V. When working in a row and facing the backside of the stitches the post of each stitch has the shape of an inverted V. To complete the waistcoat stitch you continue just as you would a single crochet. You yarn over, pull a loop, then yarn over yarn over again and pull through both loops on your hook.

One of the best features of the waistcoat stitch is that there are many ways to join rounds most of which are seamless. Actually, with the exception of the traditional slip stitch and chain one, every other method of joining rounds is invisible. The waistcoat stitch can also be worked in a spiral. To join a round of waistcoat stitches with the traditional slip stitch method after completing the last stitch of the round, you insert under the loops at the top of the first stitch of the round, yarn over and pull through all loops on your hook. Then you chain one to begin the next round, the first stitch of which will be placed into the post of the same stitch you slip stitched.
To have an invisible seam you can simply use a variation of this traditional method that goes like this: When working the last stitch of the round you insert into the post of the stitch yarn over and pull a loop. To complete this last stitch you would normally yarn over again and pull through both loops on your hook. Instead of doing this and while having two loops on your hook you insert into the back loop at the top of the fist stitch of the round, yarn over and pull through all loops on your hook, making a slipstitch. Then you place the first waistcoat stitch of the new round into the post of this same stitch you slip stitched (1st stitch from the previous round). You can see this method used in the base of the bag of the following video.
Another way to join a round of waistcoat stitches without a visible seam is the following: When completing the last stitch of the round release your hook and loosen your open loop. Insert your hook under the two loops at the top of the last stitch of the round, from the backside of your work (the internal side/wrong side), and pull your open-loop in. Then loosen your open-loop more and pass the entire work through this open loop. Pull your yarn to tighten and diminish the open loop. Insert your hook into the post of the next closest stitch yarn over pull a loop and chain one. Continue the next round normally. Remember to pass your work towards the same direction at the end of every round to be able to unravel easily if necessary. You can watch this invisible seam method in the following video.
To create a waistcoat stitch increase you simply place two waistcoat stitches into the post of the same stitch of the previous row. To create a decrease you insert your hook into the post of the first stitch, yarn over pull a loop, then insert your hook in the post of the following stitch, yarn over pull up a loop, and then yarn over again and pull through all three loops on your hook.
Tips
- When using working the waistcoat stitch and especially when working tight or when beginning with a magic ring it might be wise to use one hook size bigger to be able to insert your stitches of the second row or round after pulling the tail of the magic ring.
- After inserting your hook into the post of the next stitch and yarning over, slightly lift your hook and then pull a loop. This will help to loosen the center post of each stitch making it easier to work without loosening the top of each stitch which would result in loosening the entire work.
- When joining the end of each round, whether using the traditional slip stitch method or some other invisible seam trick its is important to pull your yarn quite tight to make sure the join disappears.
Dos
- Though waistcoat stitch can also be worked in rows it is best used in projects worked in the round like beanies and hats, baskets, gloves, socks, baby Moses baskets, etc,
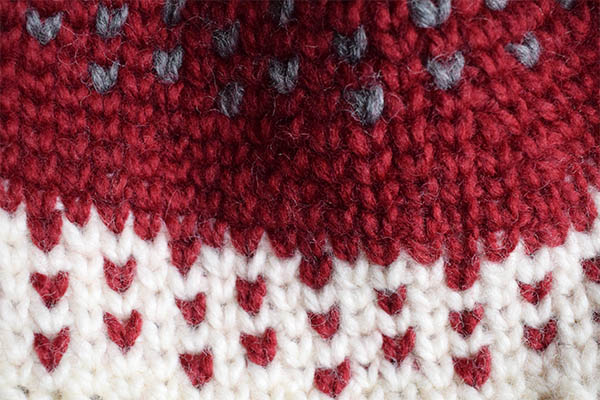
- Similarly to single crochet is an excellent stitch for fair isle crochet projects (graph/colorwork crochet) like rugs, bags, and beanies.
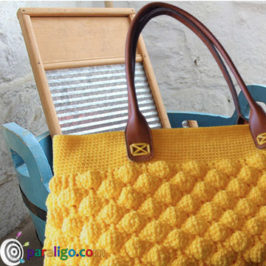
- When rigidness is the issue in order to achieve a firm shape and a clean form, the best yarn to work the waistcoat stitch would be a Thick T-shirt yarn.
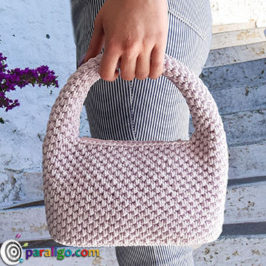
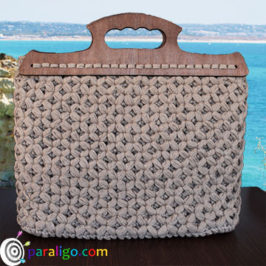
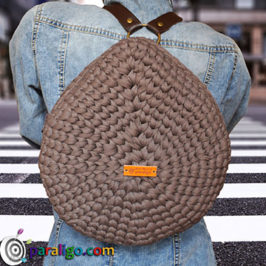
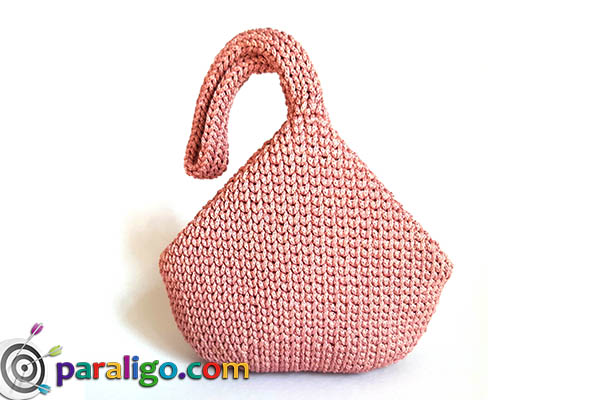
- As mentioned before because it’s a rigid stitch the waistcoat is ideal for 3d and geometrically shaped bags like the macaron bag, the square bag, and the pyramid clutch.
Don’ts
- Do not use the waistcoat stitch for projects where a loose flowing crochet fabric is the desideratum. No matter how loose you will work your stitches the waistcoat stitch is a dense stitch that produces a rigid result.
- If your yarn supply for a specific project is marginal, then maybe you should prefer single crochet instead of a waistcoat stitch. Though it doesn’t belong to the yarn eaters it’s still consuming more yarn than the regular single crochet.