 After an entire article heaping applause on premade bases for crochet bags, it’s time to praise store-bought handles for crochet bags. For even the most humble crochet bag when fitted with a nice pair of handles, a beautiful strap, or a chain of the right tone, can transform into a fashion statement piece. Weird as it may sound the attitude and appearance of a bag may rest greatly on its handles.
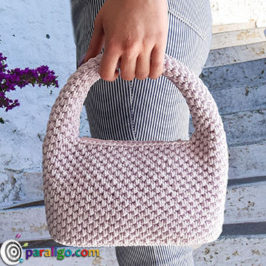
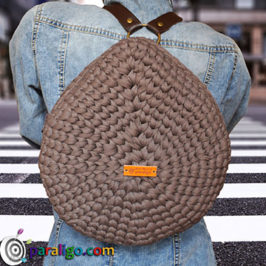
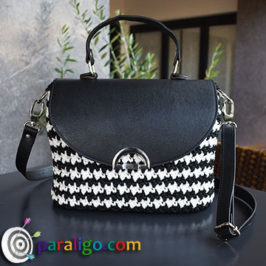
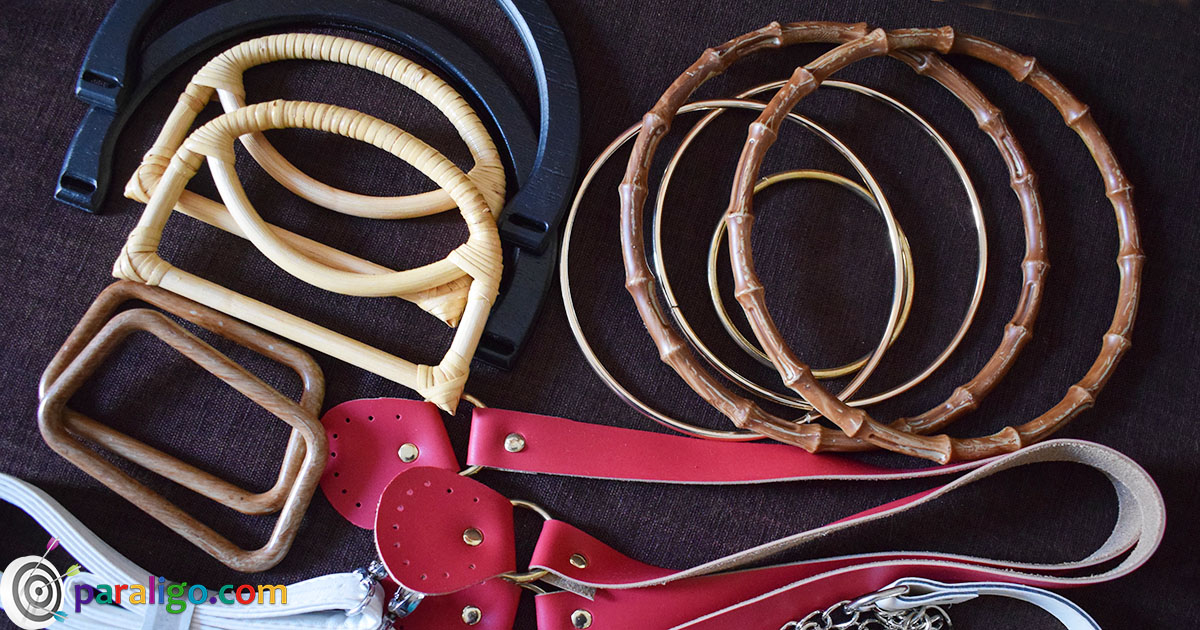
There are several different types of bag handles. Shoulder handles, top handles, bracelet handles, metal frames, long and medium Straps, and many more. Handles are often closely related to a specific type of bag. For instance, a long leather strap goes hand in hand with a messenger bag, whereas webbing shoulder handles go together with backpacks.

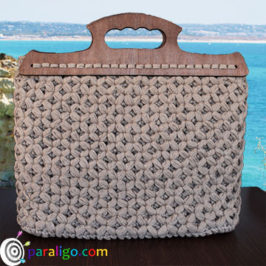
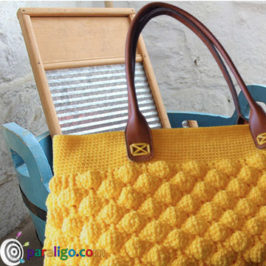
Store-bought bag handles can be manufactured from a variety of materials such as Leather /vegan leather, Wood, Bamboo, Straw, Webbing, Rope or cord, Plastic, Bone, and Metal. Materials along with the type of handle often determine the intent and occasion of use.As an example metal handles are the highway to unparalleled elegance. From oval and round hook handles used in clutches to frames of silver, gunmetal, and gold shades and metal chains used in cross-body purses, when creating an evening bag one can never go wrong with metal.

How do you attach a handle to a crochet bag?
To attach a pair of perforated leather handles to a crochet bag, simply follow the holes and hand sew the handles into place, using a simple backstitch technique. Use a needle that fits the holes of your handles and preferably the same yarn you used to crochet your bag.
Cut a long strand of your yarn and fold it in half. Thread the cut ends into the eye of your needle. Insert your needle from the back and bring it to the front through one of the handle holes. Leave a small loop on the back.
Bring your needle down through the previous hole and pass it through the loop on the back of the fabric. Bring the needle out one hole forward. Push the needle down through the previous hole. Bring the needle out one hole forward and then bring it down through the previous whole.
Repeat until you fill every hole of the handle. Secure the yarn at the back of your work and cut the excess. Repeat for the other side of the bag after aligning the handle to the one sewed on the front of the bag.
To attach a solder strap or a chain to your bag just clip on the bag straps an equal distance apart inserting the lobster claw clasp into a couple of stitches of your work or into pre-attached D rings.
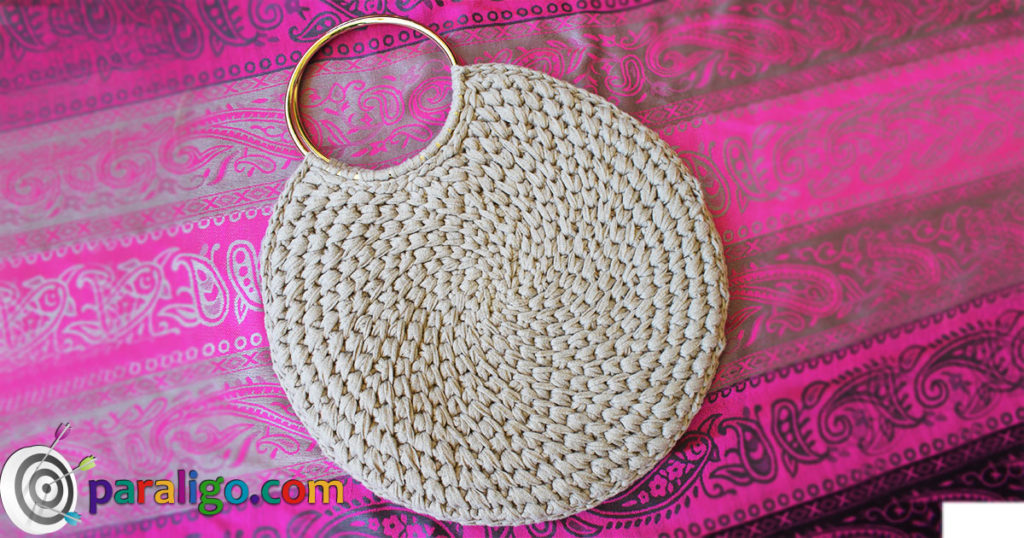
Ring/hook handles often serve as the foundation round or row of the entire pattern, similar to the concept of making a macramé bag. In cases like these, you create the bag around the handle beginning with a number of single crochet worked around the hook.
Pros
- Sturdiness: Crocheted straps tend to stretch out and rarely look even along their entire length. Adding pre-made handles or straps to a crochet bag will result in a much sturdier and handy item.
- Aesthetics: Attaching leather creates a nice contrast to the softness of the crochet fabric whereas bone, bamboo, and metal will add a more boutique look to any crochet bag.
- Less effort: A crochet bag is a project that most of the time requires a lot of time and effort. Why not cheat a little and use pre-made handles, hooks, solder straps, and chains rather than crochet your own handles.
- Versatility: Solder straps, hook handles, and chains are most of the time removable, allowing you to play with different colors, tones, and styles to match your every outfit.
Cons
- Cost: Depending on the construction material premade bag handles can be quite expensive and significantly increase the budget of a crochet bag.
- Precision: When it comes to attaching a handle to a purse symmetry is everything. A misplaced handle can absolutely ruin the appearance of the bag and also make it difficult to use.
Tips
- When adding pre-made handles it’s a good practice to reinforce the mounting area, to make sure they are tightly attached to the fabric.
- When sewing a pair of handles form a square of stitches and then an X that goes through the center of the square, instead of a straight line of stitches to secure them.