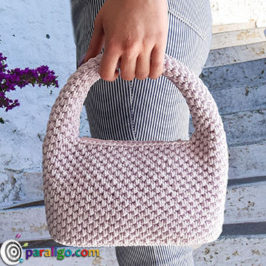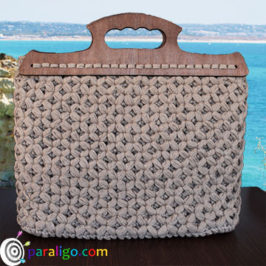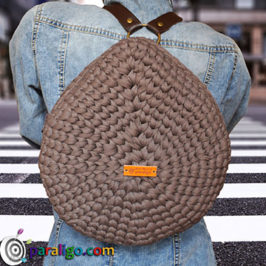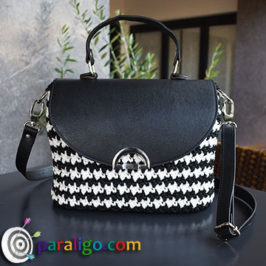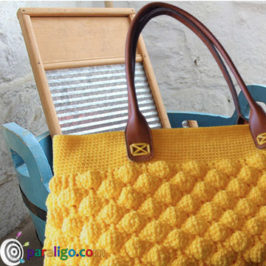
Pre-made perforated bases for crochet bags, also known as bag shapers are one of the greatest inventions in the history of crochet bags. Though their appearance is relatively recent, they literarily flooded the market by leaps and bounds and they are widely available. If you happen to be one of those crocheters fed up with struggling with complicated crochet patterns only to end up with stretchy bag bottoms that won’t’ hold their load, stay put, cause I am about to show you the light. And even if you are the “I prefer to do it my self” type of person, I believe that a glance at my previous article will convince you to give store-bought parts and accessories for crochet bags a try.
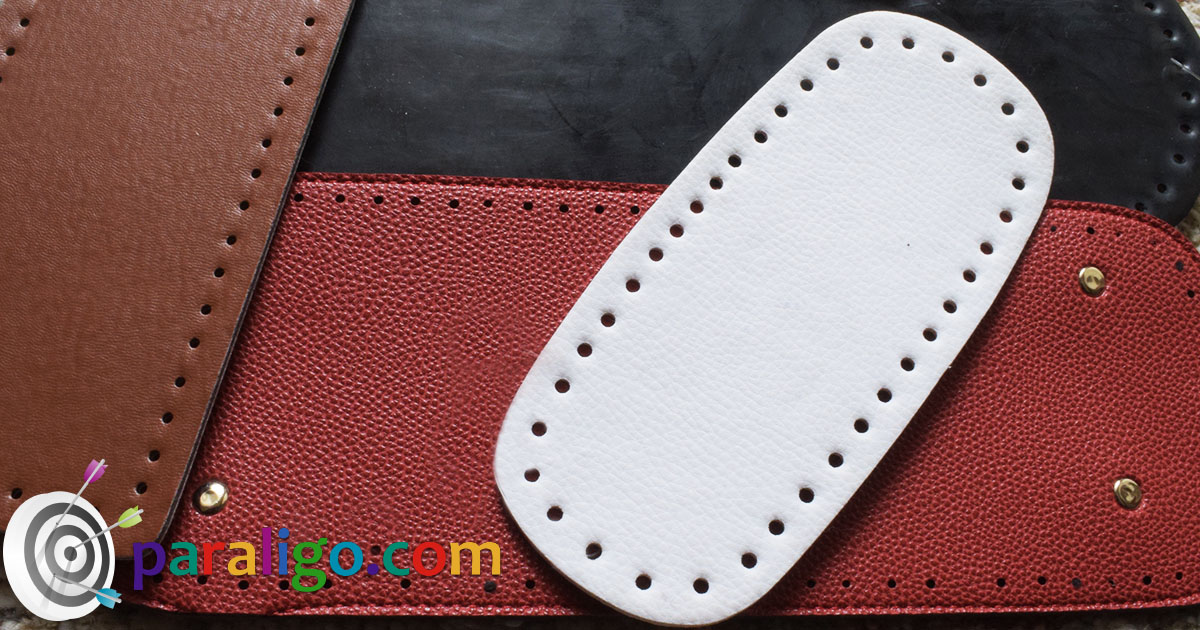
Bag bases come in a great variety of materials. The most popular choice is vegan leather bases but you will also find real leather, wooden, woven plant fiber bases such as rattan, and lately bases constructed of Plexiglas. There is also a wide range of sizes from tiny ones suitable for evening clutches and miniature pochettes to large heavy-duty bottoms for big totes and shopper bags. When it comes to shaping though the options are basically four: Oval/oblong, round, rectangle, and square.

How to crochet with a leather bag base?
Whether your base is ovoid, circular, rectangular, or square it can only be used with patterns and stitches worked in the round. The way to crochet a bag using a perforated readymade base, regardless if it’s constructed of leather or wood, breaks down into two similar methods.
The first method is to treat the wholes of the base as the stitches of your foundation chain. You simply make a slip knot, pull it through a hole in the middle of a long or a short side (depending on whether your pattern is seamless or not), and then chain one or two depending on the height of your stitch, and work your pattern from round one. In this method and especially if you are using a square or a rectangular base, you will have to work some increases at the corners of your base to avoid your bag being tight at the bottom and looser as it goes up.
The second method that is considered the most proper one, is to work a foundation round of slip stitches before you begin your pattern. Again make a slip knot, pull it through a hole in the middle of a long or a short side of your base and then chain one and work a round of slip stitches around your base. When you get to the first stitch slip stitch to join and work the number of chains required to proceed with your pattern (one chain for a single crochet based pattern, 2 chains for a double crochet based pattern, etc). Again depending on your stitch or your pattern you might need to increase in the corners to avoid the “plant pot” effect.
Pros
- Time saver: A store-bought base will save you half the work and therefore half the time required to complete a bag. Be kind to yourself and try to use one for a change.
- Effort saver: Even for the most experienced crocheters a perfect crochet shape can be a real headache. A prefab bag base will allow you to skip the counting and move directly to the fan part of your pattern, the one you can work on while watching your favorite tv show.
- Yarn saver: A bag base needs to be rigid and therefore worked densely. This requires many stitches and a lot of yarn which as we all know does not for free. A base of the peg, will save you yarn and at the end of the day money.
- Weight saver: Except for using extremely light plant base fiber yarn a crochet base will always be heavier than a store-bought base, a fact crucial especially when it comes to large bags like totes.

Cons
- Do your math: If you intend to work a pattern where the number of stitches must be specific, odd or even or worked in certain groups of a number you might have to do some counting to adjust original number of stitches that depends on the numbers of holes on your base, by increasing in certain parts of your foundation round.
- Costly: Though readymade bag bases are well established in the market depending on the construction material the brand and other factors a base might be expensive and not the best choice for a low budget project.
Tips
- Use a hook thin enough to penetrate the wholes without stretching them out, even if it’s the recommended size for your yarn. You can switch your hook after your complete your foundation row.
- Work your foundation stitches kind of loose, so that you won’t’ warp your leather of vegan leather base.

Dos
- Think outside the box! Two 15cm round bases could also work as side pannels for a barrel crochet bag or you coud use a folded 30cm long base as the center of a small purse and work the sides of the purse around it.
- You must absolutely use store-bought bases for big bags like totes beach bags and shoppers. It will save you time, effort, and money and your bag will look impeccable.
- Bag bases are great for use with yarn eater patterns that require a lot of yarn and result in heavy end items. A base will save all the above mentioned plus it will make your bag more lightweight.
- If you plan on creating a bag with reinforced walls that needs to have nice sharp edges and accurate curves a pre-cut perforated base will give you the flawless precise shape that your desire.
Don’ts
- Dont use ready made bases for bags worked with plant fiber yarn intended to have a more summery, organic look and feel. Though the use of certain bases is not entirely forbidden (rattan or worn leather bases could be nicely used), it’s best to crochet the base of such a bag with the same plant fiber yarn.
- Do no use leather or vegan leather base with T-shirt yarn. The wholes of a base are rarely large enough to fit a thick t-shirt yarn and the yarn is so heavy that there is a great chance that it will pull and tear your base once the bag is loaded. Also, T-shirt is rigid enough and one of those cases where a DIY crochet bag base would be a much preferable solution.

