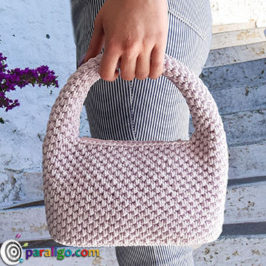
Hippie deluxe is hot again, much hotter than the weather this summer I am afraid, and if you were thinking of adding some Boho chic accessories to your wardrobe, you are simply going to adore this Macrame tutorial, where you can learn how to make a macrame fringe bag.

For this macrame fringe bag I used plain T-shirt yarn to finally start making use of the piles I’ve been stocking and to keep this Macrame tutorial project on a low budget. For a finer outcome I would choose a thick nylon braid cord such as this one.
In any case here are the supplies you are going to need.
Tools & Materials:
- 95m T-shirt yarn
- Hobby or fabric glue
- Tape measure
- Scissors
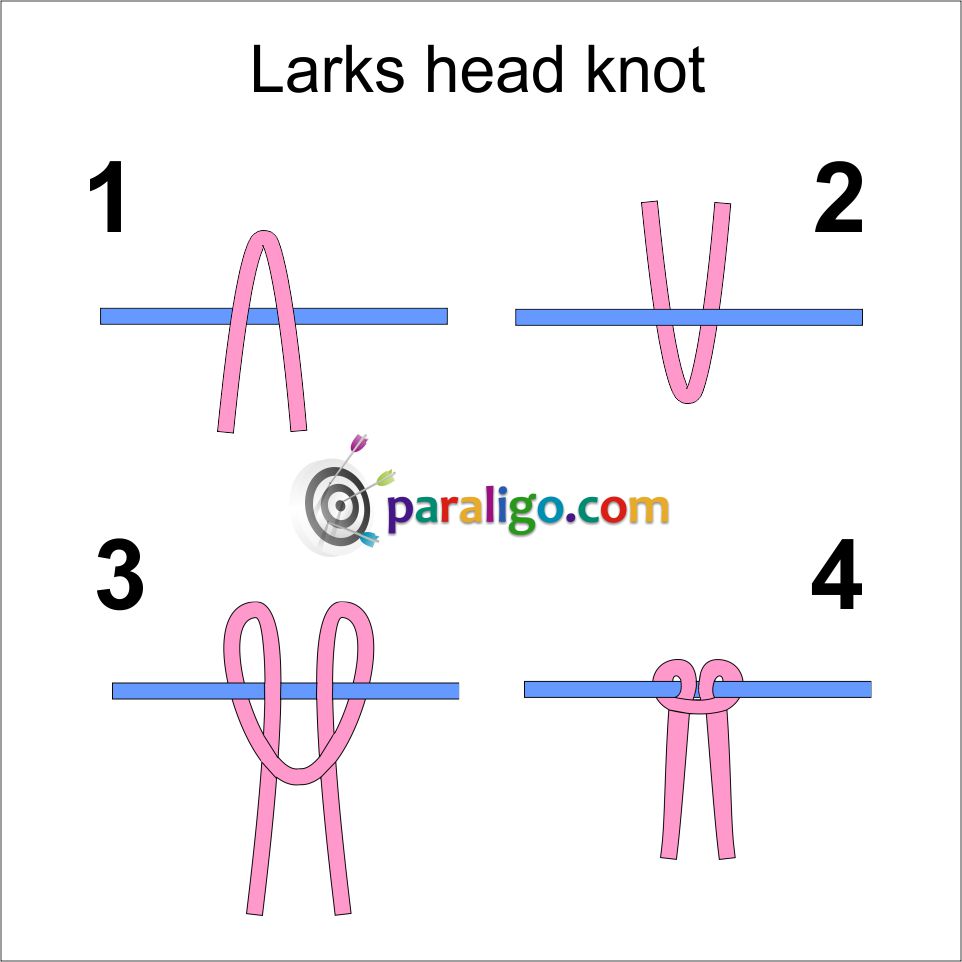
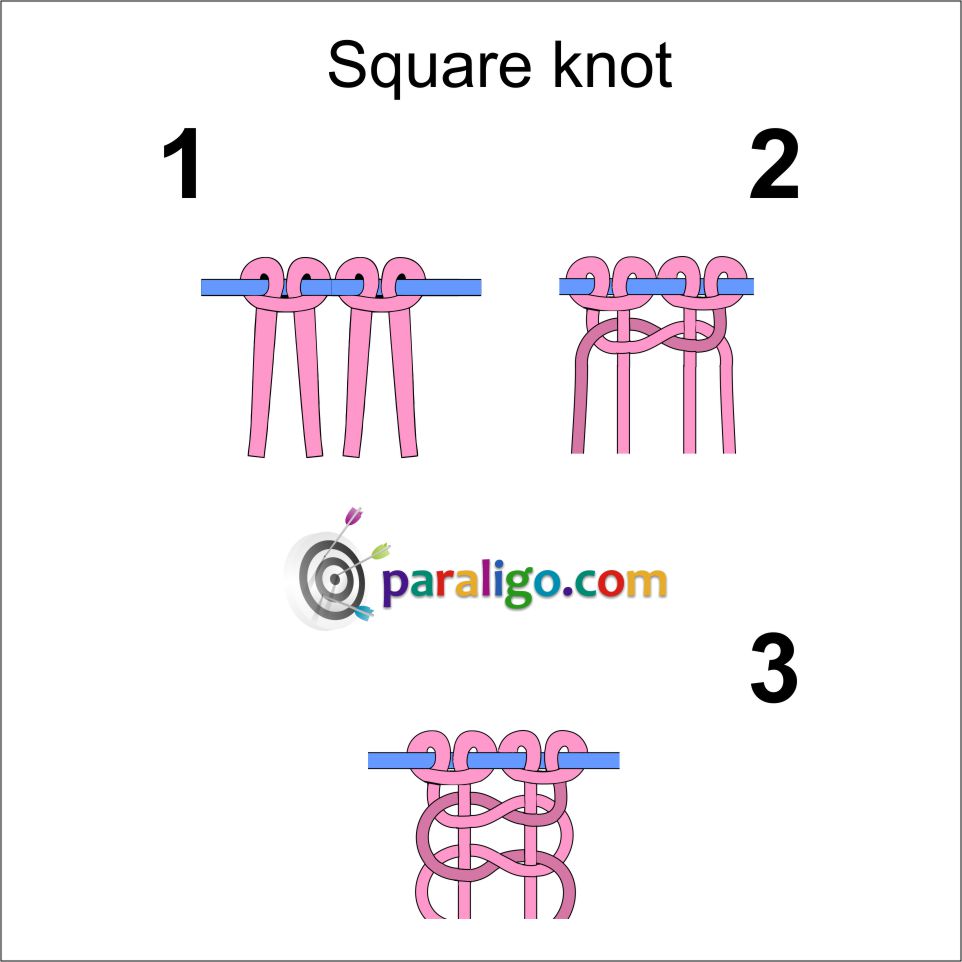
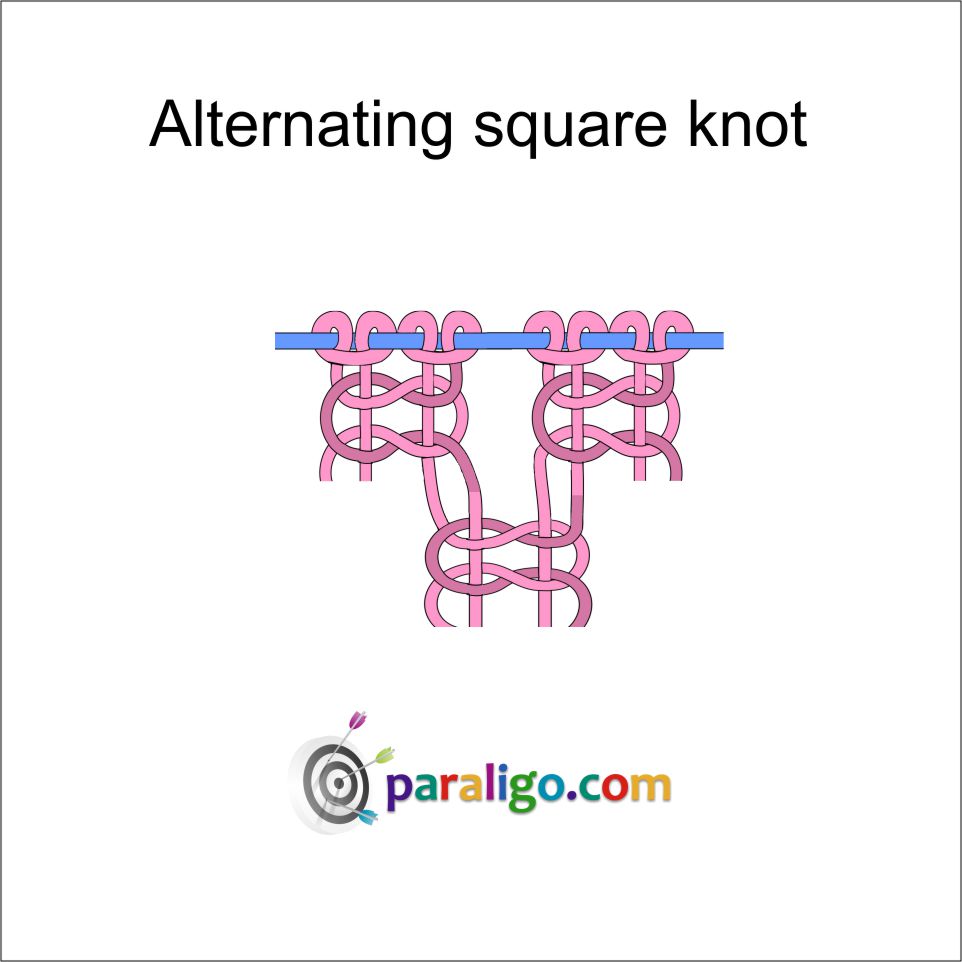
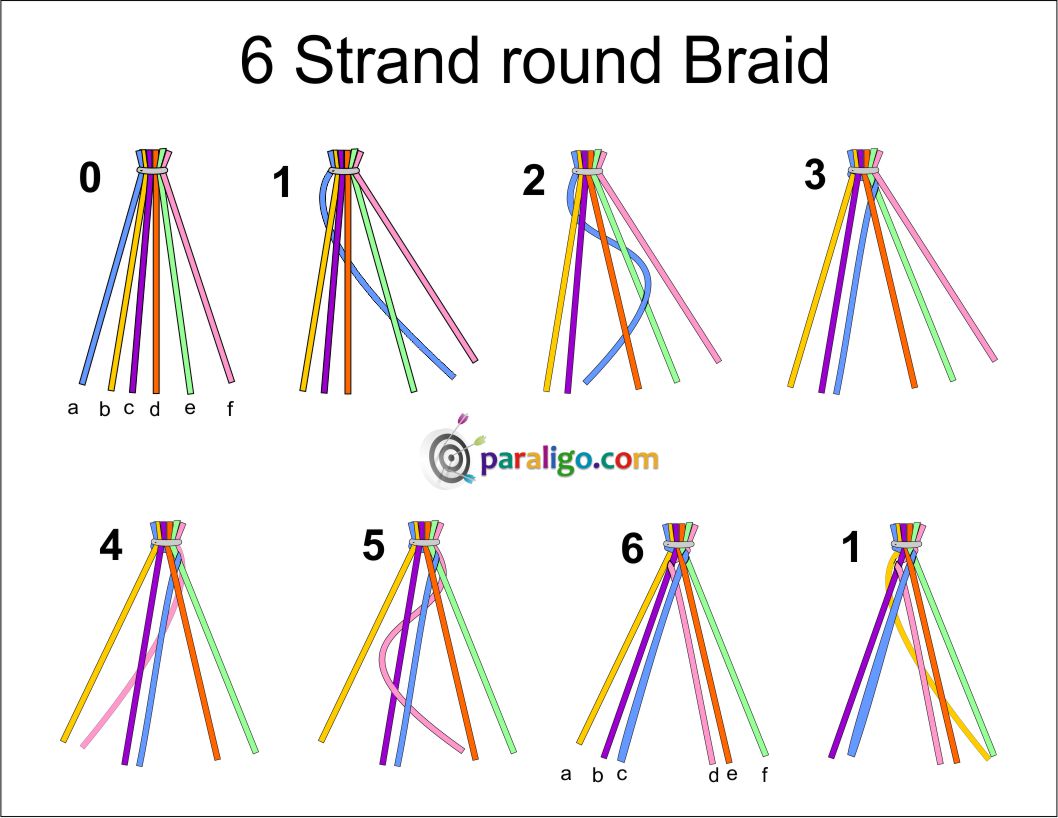
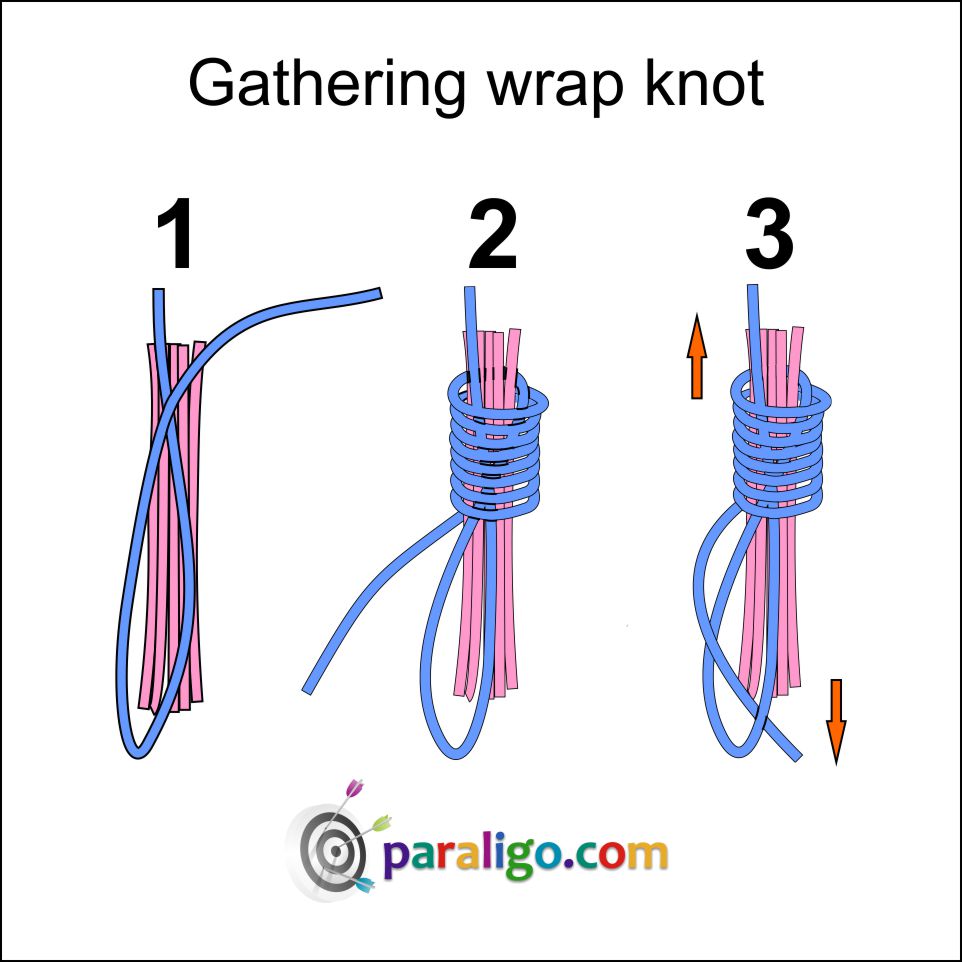
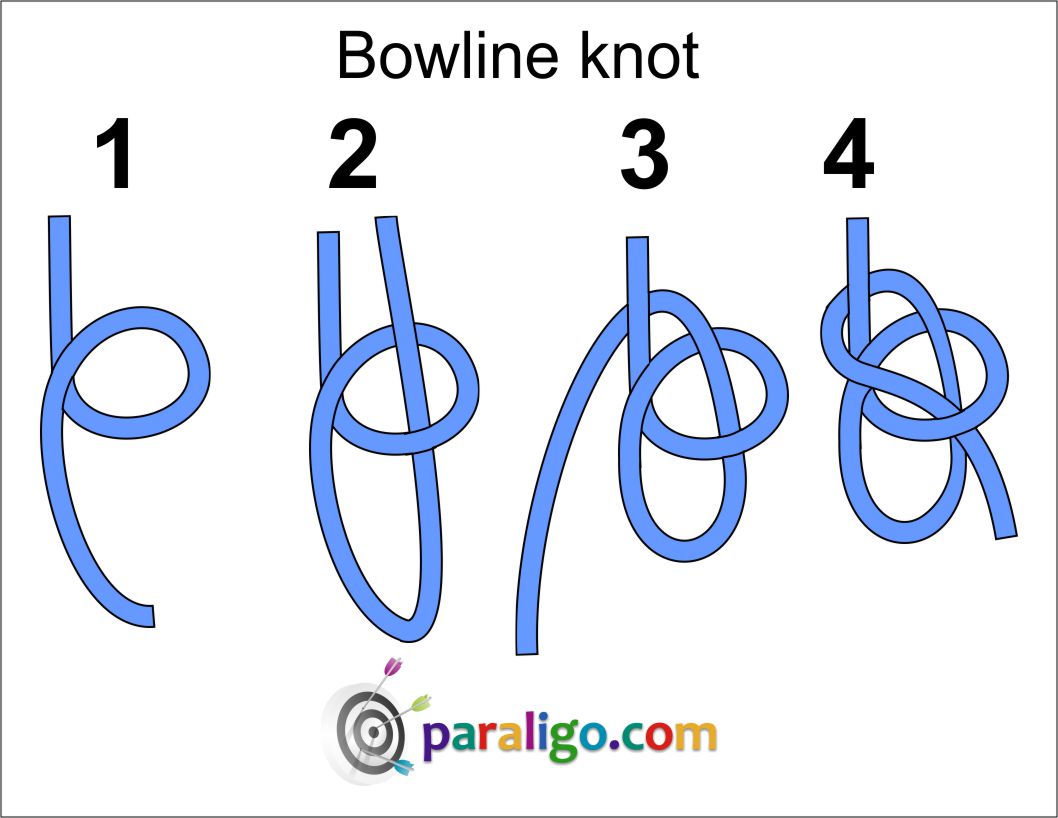
In this macrame video tutorial you will see a series of macramé and nautical knots that are very common but in case you are a newbie, here are some outline images that will hopefully help you comprehend them better.
The Larks Head Knot is used for mounting the cords and for the bag handle
The Square Knot is used for the body and the bottom of the bag
The Alternating Square Knot also used for the body of the bag
The 6 Strand Round Braid is used for the handle of the bag
The Gathering Wrap Knot is also used for the handle of the bag
The Bowline Knot is used to mount the handle on the body of the bag
Tips:
- Make sure to tie all of the bottom square knots very very tight.
- When braiding the handle try to keep the cords dived into 2 sections, left and right, each comprised by 3 cords. Every time you move a cord into a new position hold it tight with the rest of the cords of the same section, to keep them in the right order.
- If the fringes are too excessive for your taste you can reduce their number by cutting the middle cords of the bottom (after tying the bottom square knots) and securing them with craft or fabric glue.
So I guess I said it all and It’s about time I let you watch the video and discover how to make your own macrame fringe bag.
Enjoy!

